Showing posts with label Gifts and Craft. Show all posts

Friday, 2 October 2015

Chair Renovation Complete

A month (or so) ago on one of my op-shop trips I found these awesome old mid century chairs, made by iconic Australian designers, Burgess Furniture. Whilst an ugly duckling in their 80's grandma renovated fabric, I could see the potential in them immediately (with a little TLC).


Out came the steel wool, turps and linseed oil. A bit of elbow grease later you can see the difference in timber colour with a bit of love (left one un-renovated and right one with a scrub 'n oil!)


The final step was to recover and voila, fancy new (old?) retro chairs. 

I still don't know where I'm going to house them but once the downstairs reno is finished, I'm thinking that I'll find a good spot for them there.


Today the kids and I are vegging out at home with some movies. Actually that's a lie, the kids are watching movies. I'm re-inspired to get my "ferment on" after reading the new Simplicious book by Sarah Wilson. I got a bit slack over the Winter months but with Spring in the air, I'm feeling motivated again.


PS, the book is fab, it's like she wrote it for me!

Saturday, 18 July 2015

Getting My Craft On

We are huge fans of the cartoon Toy Story at our house. Inspired by some gorgeous art works by Castle and things, I decided to get a bit craft and combine my love of both.


 I raided my craft box for some let, cotton and a bit of calico
 A little bit wobbly but still kinda cool. Buzz Lightyear would be proud!
In the coming months, I'm going to be re-shuffling the boys room (again) as Kai is ready for a big bed of his own. I've purchased some matching retro beds and plan to restore them with a bit of a modern tweak and thus, add a few new bits n bobs (like this framed pic) into the mix.

Today is frightfully cold outside but sunny so I'll be out tackling the very neglected veggie patch. What do you have planned for your weekend?

Wednesday, 15 April 2015

Today is Wednesday

Hello, hello, I trust all is well? It's been a while since my last blog but it was not for lack of motivation or content, simply that my computer died. It went to that place that computers go to when they are no more (landfill!) Actually that's not true, it's living at the back of my cupboard right now in the "can't think about it right now" box (I have a lot of those "boxes"!) Due to the unfortunate death of my old brick, I now have a shiny new model and she's real pretty. Meet Macbook Air (yep, I haven't thought of a name for her yet). "Air" is my new partner in blogging crime.


There's too much going on at our house. It was full steam ahead with the downstairs reno although that has fallen flat on it's arse in the last day or so after I received some not so good news (regulations have changed and I now need a very expensive permit). The budget has been blown and I need to regroup so everything has been put on the back burner.

Anyhoo, what have I been up to other than dealing with trade quotes and ridiculous council regulations? Well, we spent our Easter at the shack, the kids got sick, my computer died, I discovered the loveliness of spelt muffins, the car broke down, I bought some pretty plants for my front garden, we started lining out the storage room under the house and more!

I also did a quick DIY on Roge's old clock to bring it into more of the "now". It only took a few minutes and a can of old gold paint and I think it came up pretty nicely. I've said it before and I'll say it again, paint is the BEST renovation tool out there. Cheap and can make a huge difference.

What it did look like and...
what it looks like now!
So that's it from me today. I'm off to make my second coffee for the day in the hope it will give me the motivation to go plant some of those new pretty flowers.

Alex

Friday, 14 November 2014

DIY Christmas Paper and Cards - The Potato Stamp Is Back!

I may be a little bit in love with my home-made potato stamp. I can't stop stamping!!

After making my Advent Calendar, I've started to make Christmas paper and cards with some materials I already had in the cupboard (so adhering to the "No Spend November" rules). I always have brown paper and I still had a packet of these cheap Kmart cards. Both have now been "Christmas-ized".


A few coloured buttons and voila


Whilst I was stamping away, Ewan was doing his own version. I'd cut Christmas tree shapes into sponges and gave him some kiddie paint. He almost had as much fun as me!


Next for the wrapping of the gifts. I might save that for a bit closer to Christmas day but at least now  I have something to wrap with. The versatility of brown paper and a potato eh!

Monday, 10 November 2014

Christmas Advent Calendar Making

No Spend November is still going well (day 10 today). I've been keeping to the formula of using what I've got before buying something new and today's activity was no exception.

Christmas is on it's way and after an assessment of my craft cupboard I decided I had enough materials to do some potato stamping and make a homemade Advent Calendar.

Firstly, a quick "how-to" on potato stamp making:


Chop your potato into thirds length-ways. You will need to keep one "side piece" and the middle piece to make the stamp. Cut a shape into the middle piece (or like me, use a cookie cutter).


Use tooth picks or chopped up skewers to connect the two pieces back together.


Dry the stamp with a bit of towel and then you're ready to go!


I'm making my Advent Calander with brown paper bags and different coloured ink pads. 


Twelve red and twelve black stamped brown paper bags and I have enough to make a 24 day calendar.

Over the last few months I've been buying little bits and pieces at the local $2 shop to use as stocking fillers and for the Advent Calendar. I've put into my calendar some matchbox cars, Christmas crackers (left over from last year's Christmas), some tree decorations, stamps, gold coins, stickers, books, magnets, bouncy balls. If you don't have children you can still make an Advent calendar but make it for your partner or for when visitors comes around, there's no limitations really!


I've hung the calendar in our hallway on jute string and clipped with mini pegs. I'm super chuffed with how it's worked out.


I'm loving my potato stamp and decided not to stop at Advent calendar making. Keep an eye out on the blog later in the week for what else I've been doing.

Tuesday, 30 September 2014

Fabric Tassel Garland, It's The Return Of "Crafting Alex"!

Woohoo, today I completed my first craft project since Kai was born. That's 15 months out of the saddle. Phew, I must have been busy?

Anyhoo, lets get to it. I've started to think about Christmas 2014 and gifts for my family. I have a LARGE family and although none of us spend a lot on each other, the money I do spend I like to go a long way.

I have two much younger sisters (11 and 14 years old) who I love to dote on (probably due to my lack of girls of my own; I have two raucous boys). This year for Christmas I thought I'd help them on their way to funking up their bedrooms. They are both teenagers (or almost) and transitioning from having children's rooms to teenager's rooms.

Kmart Australia have a lot of cheap bed linen. I bought this queen size doona cover for only $10 and another in blue for $9. That's a bargain (but I try not to think about the fact that I've probably just bought straight from a sweat shop in China).


To go with the doonas that I had bought the girls (I bought two), I thought I might make the girls flag buntings. I've done them before and they're easy but look cool. Then I had a thought, I had seen a garland made out of tassels recently and I thought it looked pretty easy to recreate. Sure enough, a quick Google later and I've found a tutorial to follow. I'm not going to re translate it again on my page for you, I'll put the link here if you're interested.

Anyhoo, basically the tassels are made out of rags/ripped up pieces of fabric. I raided my materials box as well as the old baby spew cloths that I don't use any more (you can have a look at them here in an earlier post I did) and ripped them into 20cm by 2cm strips. 


I tried to find a few pieces of fabric that had a link to the colour of the new doona cover but the rest were just random colours and pieces that all seemed to go together fairly well.


It only took about 45 minutes from start to finish and I'd made six rag tassels and attached them to a long piece of ribbon.


It was a fun and simple project to get me back into my old crafting mode. Plus it didn't cost me a cent to make as I had all the materials already. So garland + doona cover makes a good looking Christmas gift for the grand total of $10. Perfect. Now only a dozen or more presents to put together, still, that's one less than yesterday!

Monday, 14 July 2014

Cool (and Cheap) DIY Cards

I've discovered some simple brown cardboard cards at Kmart Australia that come with the cutest envelopes. A pack of 5 is only $3.50. Bargain!


I've been using them for all my "card required events" by personalising them according to what occasion and who I'm giving them to. To pretty up the front of the card I use whatever I can find like cut-outs from vintage books or those free postcards you find in cafes.

I also have a nifty little stash of lovely things I can stick on like buttons, old scrabble tiles and ink stamps to make them "pop" just a little bit more.


It only takes a quick moment and then you have a really lovely personalised card. It's also inexpensive which is a bonus.


If you're interested in making your own gift tags too, a friend has inspired me with her ingenious idea of using an old tissue box. To take a look, I've put the link here. I love a good upcycle idea!

Thursday, 19 June 2014

"Glamming" Up The Ordinary

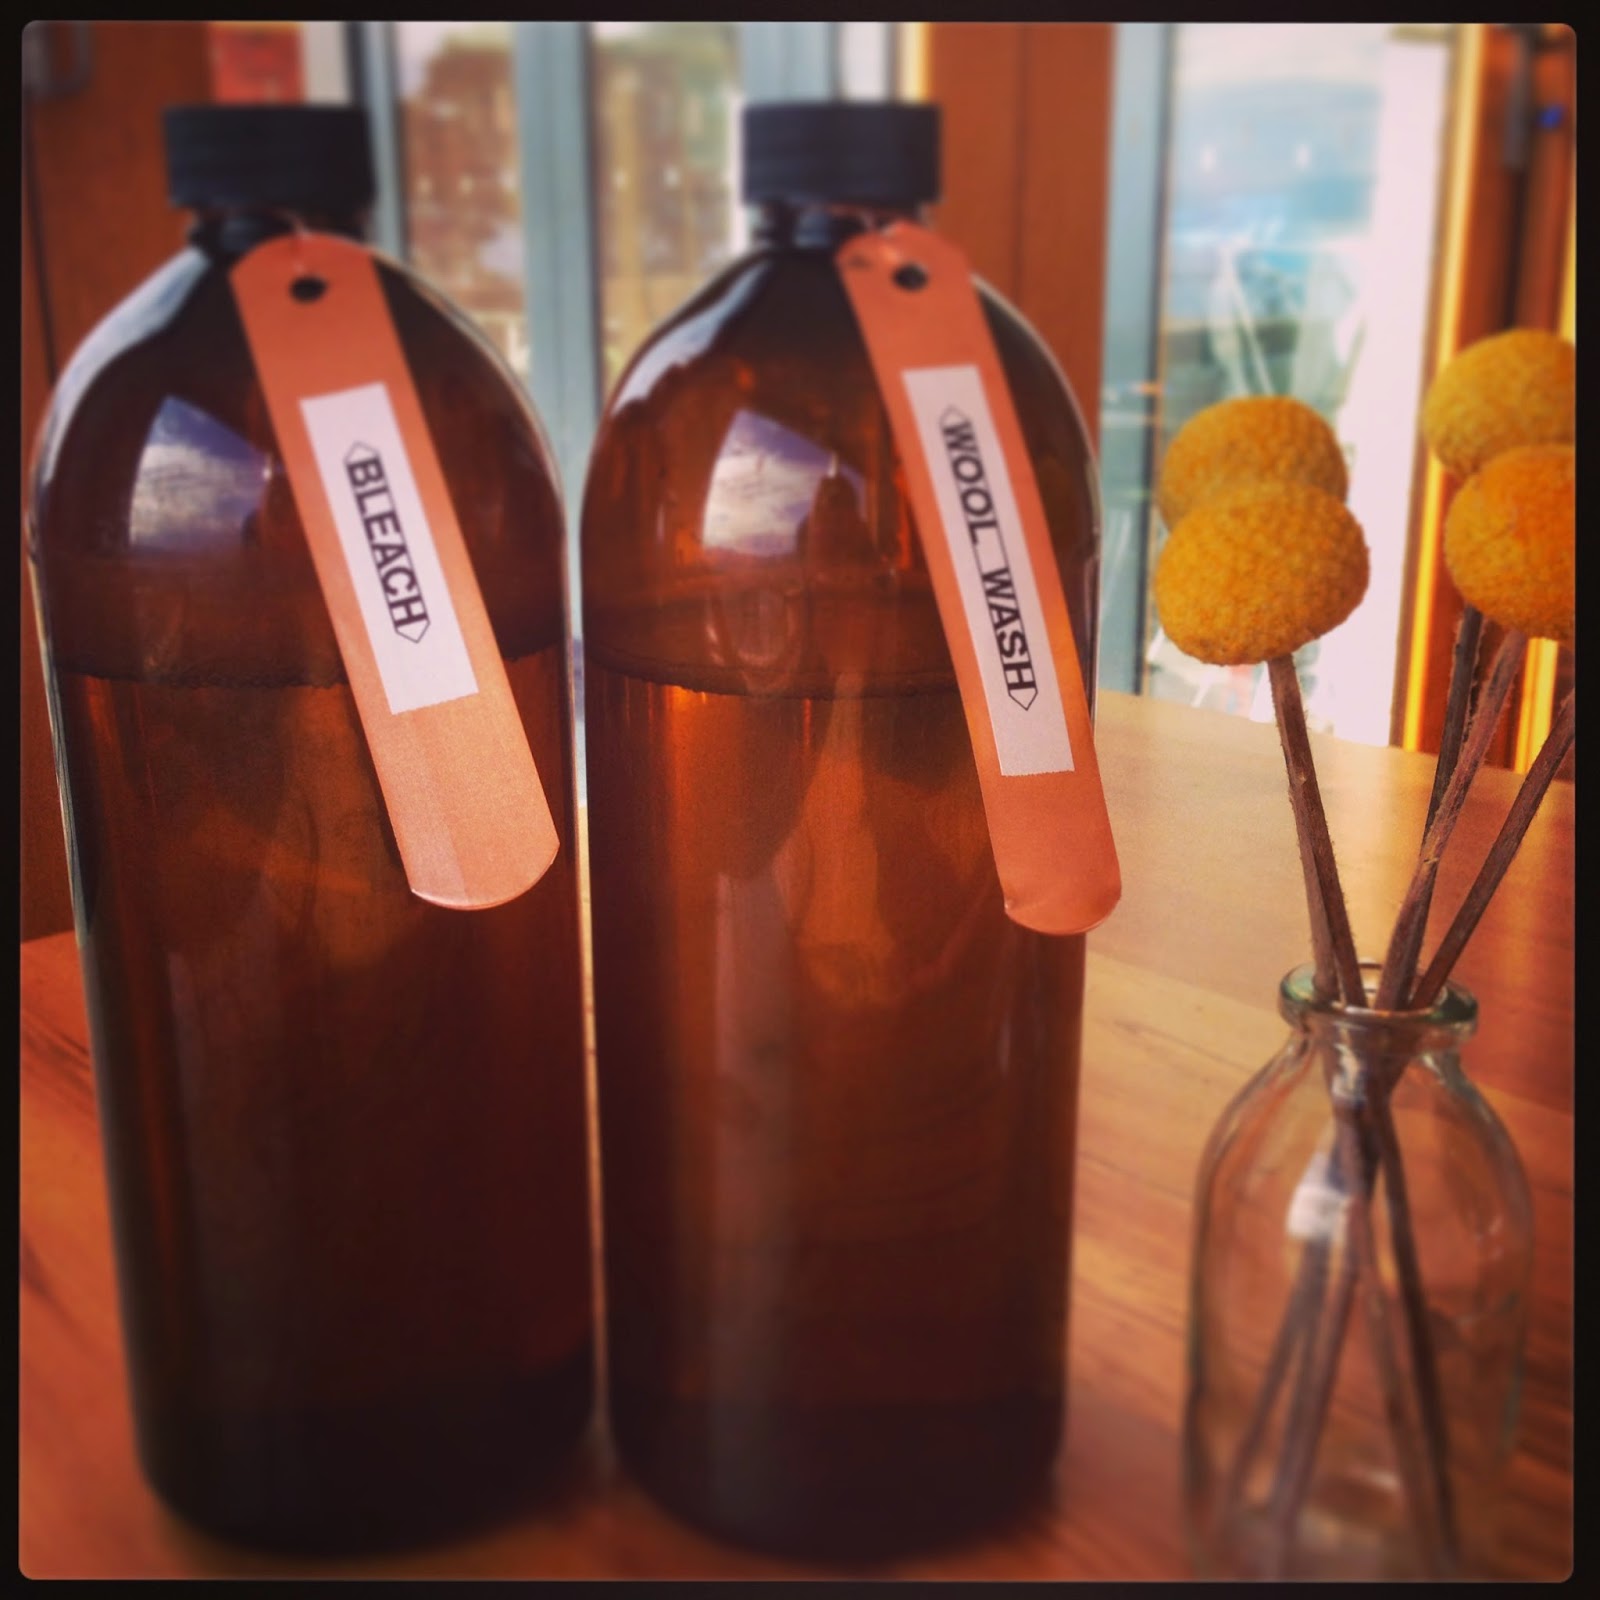
I love amber glass and have had my eyes peeled at the op shop for an old glass medicine bottle for ages (to use as a vase). Seems that I didn't actually have to look anywhere but in my own cupboard because last night when having a clean out, I realised that my old pregnancy vitamin container was in fact a glass amber medicine bottle!


After a quick removal of all the plastic and labels it looks like this, a perfect amber medicine bottle, ripe to be used as a vase!


A small length of jute string wrapped around the rim and a cutting of succulent later, it has been repurposed as a vase. Better than being added to my recycling bin which is where it was destined if I didn't have my lightbulb moment!
Other little things I've done of late:


Old hand wash refills now house my laundry products


A spaghetti tin has become a succulent planter


And a few more old medicine bottles have been turned into mini vases. That's what I call "glamming" up the ordinary!

Tuesday, 22 April 2014

A Spoon Full Of Easter Treats

Happy Easter everyone!

I hope you all had a lovely long weekend, hopefully filled with happy family times. We were very quiet this year, no going away and lots of fun with the family.

I'm showing you a few quick pics of some of the Easter gifts I gave on Sunday. I bought cheap wooden spoons, painted the ends with left over house paint, tied them together with tea towels and chocolates.


Inexpensive and a little nicer than a boxed Humpty Dumpty. I love how they turned out and the concept isn't exclusive to being an Easter gift. The spoon and tea towel can be a small gift on it's own or you could add a recipe book or a box of chocolates.

Today I'm hoping to get in the garden and work off my chocolate hang-over. It's safe to say, I consumed half my body weight worth! Hey, it is Easter which in my book is a licence to go nuts!

Friday, 7 March 2014

One For The Little Kiddies, Play Doh

Ewan has always been obsessed with playing Play Doh since he was about a year old. I've always bought it or had tubs given to us as gifts and my mum would sometimes turn up with some home made stuff. I always thought to myself "I'm gonna give that a go oneday". Recently, I realised all our play doh was looking a bit gross so I decided that "oneday" had arrived.


After a quick search on "Mr Google" I found my recipe http://www.bestrecipes.com.au/recipe/play-dough-L926.html using the above ingredients.


A super easy recipe. Put all ingredients into a saucepan and cook. I turned the heat off whilst the mix was still a bit liquid (as it reached hot) and it formed into a dough almost immediately by itself. I then kneaded it on the bench to mix all the ingredients/colour through properly.

Wrap it in glad wrap and keep in a dark, dry place for longevity.

I don't think I'll ever buy it again. This play doh is non toxic and took only minutes to make. We got to make our own colours and Ewan loved the process of helping to make it. A shame I still can't stop him from eating it but at least now I know for sure there is nothing dangerous in it!

Tuesday, 4 March 2014

Necklace Fun

It's always a busy time of year for me because I'm busy preserving and storing summer fruit and veg. This week my time has been consumed with PLUMS. Red, purple and green ones. Bottled, stewed and dried, I've done it all. 


Somehow I've also found time to do a few crafty gifts. The inspiration came from Roge who bought me a necklace for X'mas made out of neon pink polymer oven baked clay beads (which everyone seems to be sporting now days, you've probably seen them or have some yourself). After taking a look at it I thought to myself, that's something I can make myself and use as gifts for my girlfriends.


After a trip to Spotlight I found what I was after. Sculpey oven baked clay in a serious array of colours and some leather chord.

Roll them to whatever shape and size you want, use a skewer to make a hole through the middle and bake in a 130 degree celsius oven for 15 minutes and hey presto, beads. Thread onto the leather and the necklace is made.


Did I mention cheap. At approx $4 a slab of clay and the leather chord only a few dollars, each necklace cost not much more than $5. Certainly a whole lot cheaper than the $40 Roge spent on the one he bought me for X'mas!


My little supermodel showing off one of my creations. Next I'm going to make some colourful ones for my sisters and I've spotted some neon string at the local hardware store which is begging to be used.

Speaking of my sisters, keep an eye out for an upcoming post about my sister's house and the cheap reno that we started on it last year. I've finally got around to taking more pictures and so I can now show you the kitchen and bathroom (along with budget break down). If you can't remember the original post, you can have a look at it here.

Sunday, 9 February 2014

A Stitch In Time

Recently I was scrolling through one of my latest favourite design websites and came across a cool pair of embroidered pillowcases where one case says "Mr" and the other says "Mrs". "That's a pretty cool idea" I think to myself and then I look at the price tag and the the wind gets knocked out of me (a bit dramatic but lets just say, it 'twas a bit expensive for two white pillowcases with a few words embroidered on them!) I then think, "bugger it, I can do that" and so my latest gift idea is born.


One trip to the Sheridan Outlet and I have two cool pillowcases


I then downloaded a nice font and print up the word I'm going to embroider. In this case, I've decided to use the name of the person who is lucky enough (ha) to be my guinea-pig for this exercise!


I transfer my printed template onto the centre of one of the pillowcases, lightly writing out the word in pencil first before starting to embroider. I have never embroidered in my life so I go with an easy stitch (back stitch) which I found a demo of on this site.


The final result!


It didn't take too long, maybe an hour and now I'm inspired to do all sorts of things with this new found embroidering skill.


The final touch was to wrap it all pretty and send it off to the lovely Olivia.